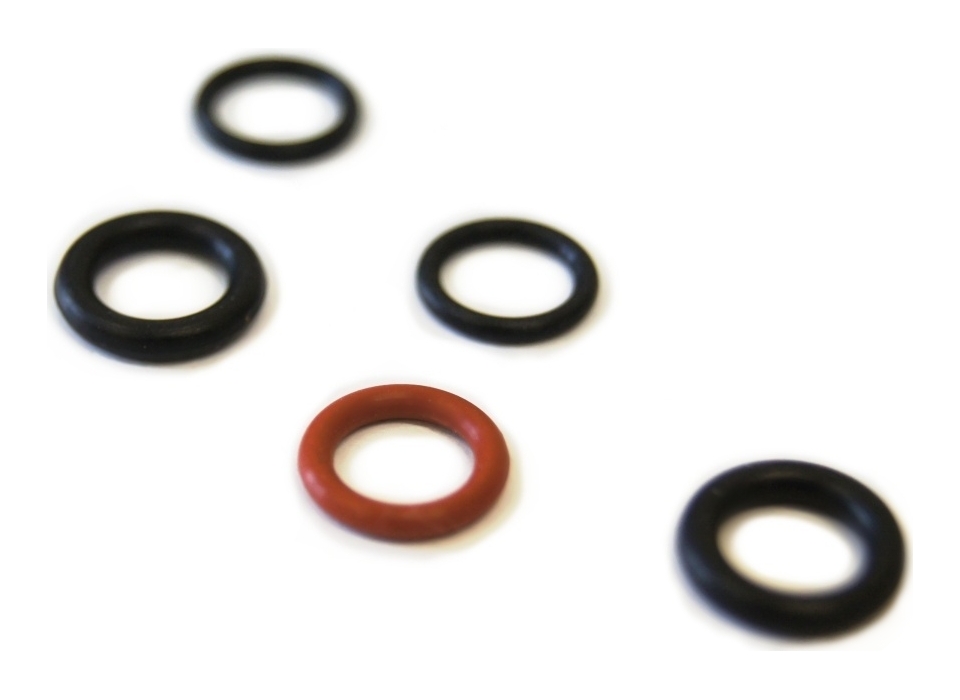
Maximum water flow rate options
- 1 gal/min — 2x thick black O-ring
- 1.5 gal/min — 1x thick black O-ring
- 2 gal/min — 1x red O-ring
- 2.5 gal/min — 2x thin black O-ring
- 3 gal/min — 1x thin black O-ring
- 3.5 gal/min — all O-rings removed
There are silicone O-rings shipped with every of our aerators. They differ in color and thickness. Based on desired water flow rate, different O-rings are placed inside an aerator. The installation is very simple. Aerator has a plastic white sieve at the inside of it. This sieve is removed by hands. A visible silicone O-ring is then removed by a knife, scissors or any other pointed tool and new ring or rings are put back in. O-rings maximum water flow rate table is shown below. For more detailed instructions with images, please check our detailed instructions here.
There are silicone O-rings shipped with every of our aerators. They differ in color and hickness. Based on desired water flow rate, different O-rings are placed inside an aerator. The installation is very simple. Aerator has a plastic white sieve at the inside of it. This sieve is removed by hands. A visible silicone O-ring is then removed by a knife, scisors or any other pointed tool and new ring or rings are put back in. O-rings maximum water flow rate table is shown below. For more detailed instructions with images, please check our detailed instructions here.
Toilet Water Saver has 5 stailess steel cylinders. The product works as a weight, pressing on toilet system reservoir output valve. More weight means there is more pressure on the outlet valve and it shuts down quicker, flashing less water. The flushed water volume can be adjusted by adding or removing those cylinders.
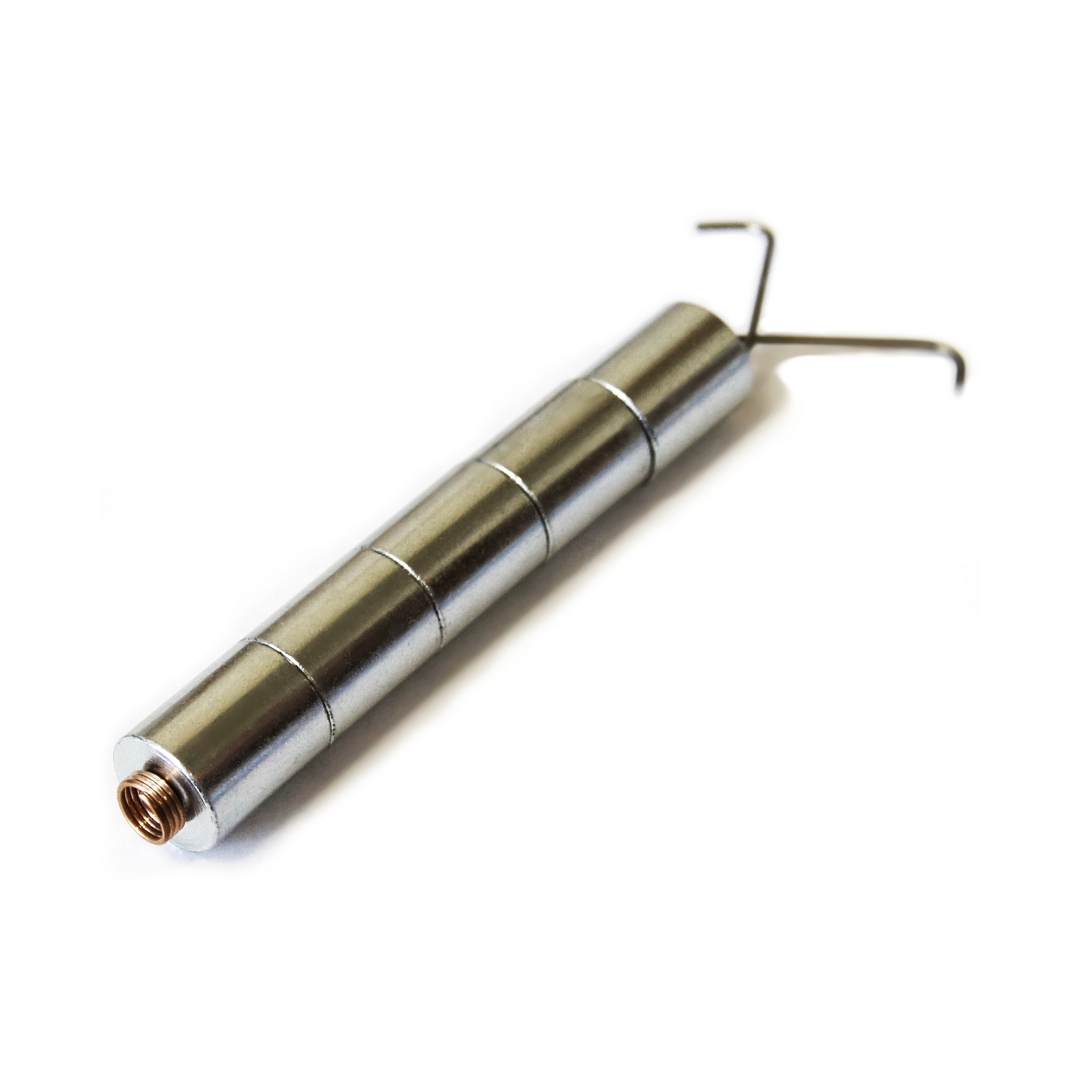
Toilet Water Saver is placed inside water reservoir, there it is hanged up in the overflow tube.

Toilet Water Saver can be easily installed in dual flush wall systems.
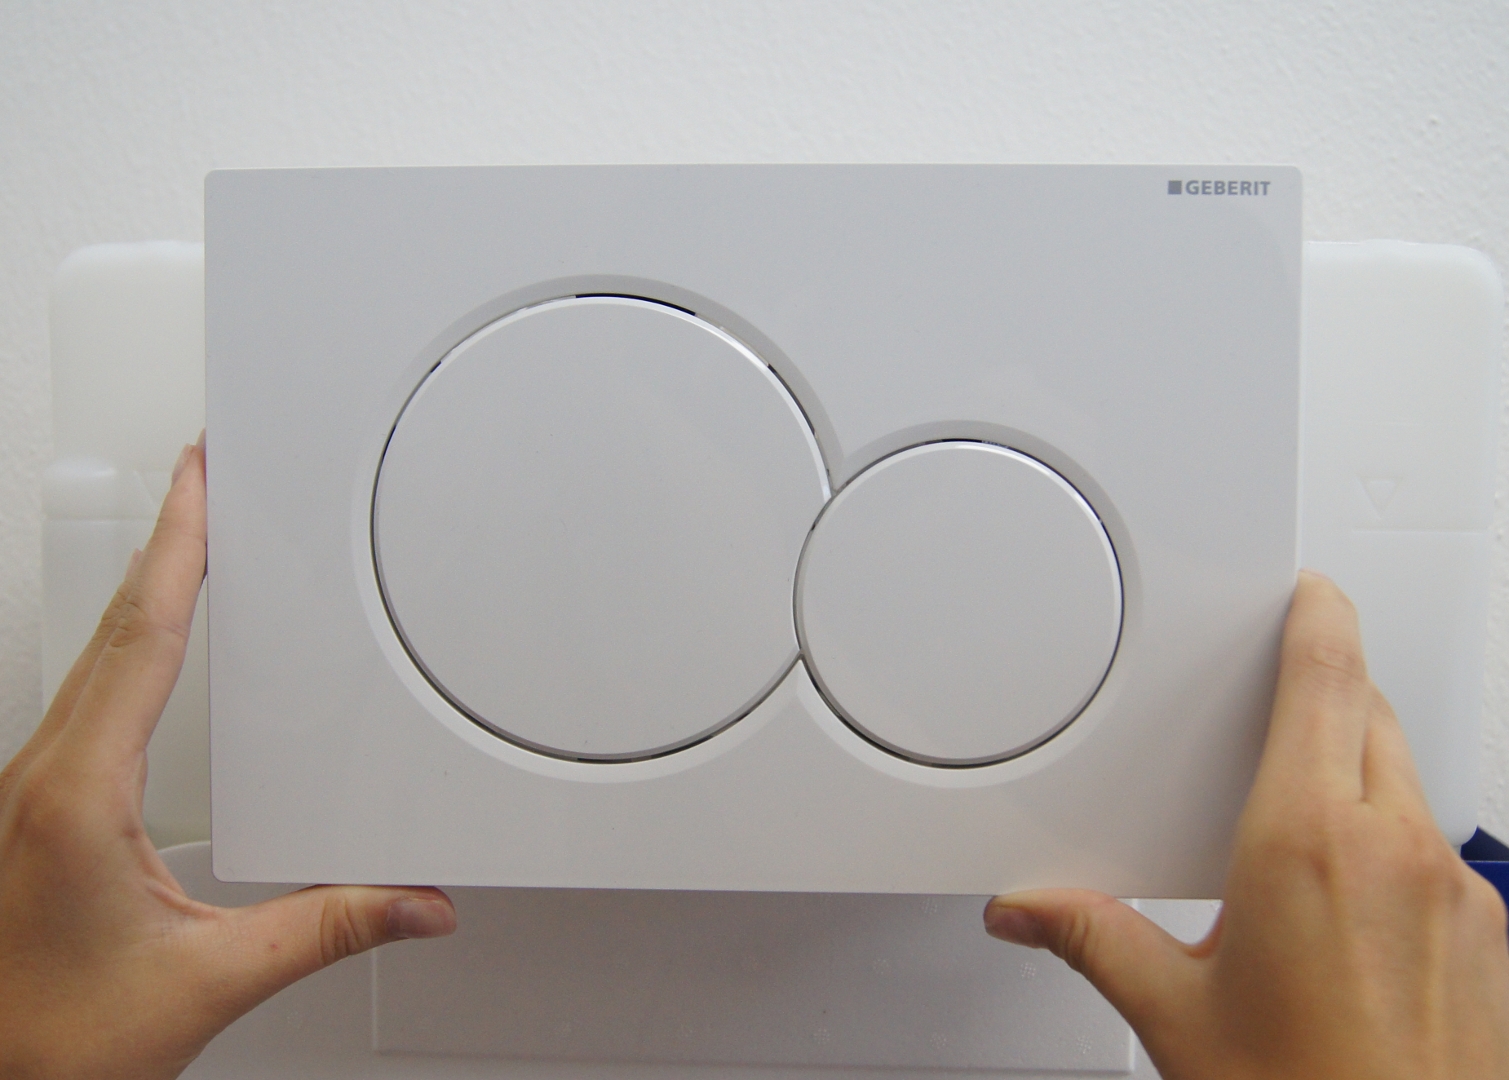
By statistic analyses, 75 % of all users use the big button without deciding, if it is necessary. Then, the full reservoir volume is flushed. Toilet Water Saver is the solution.
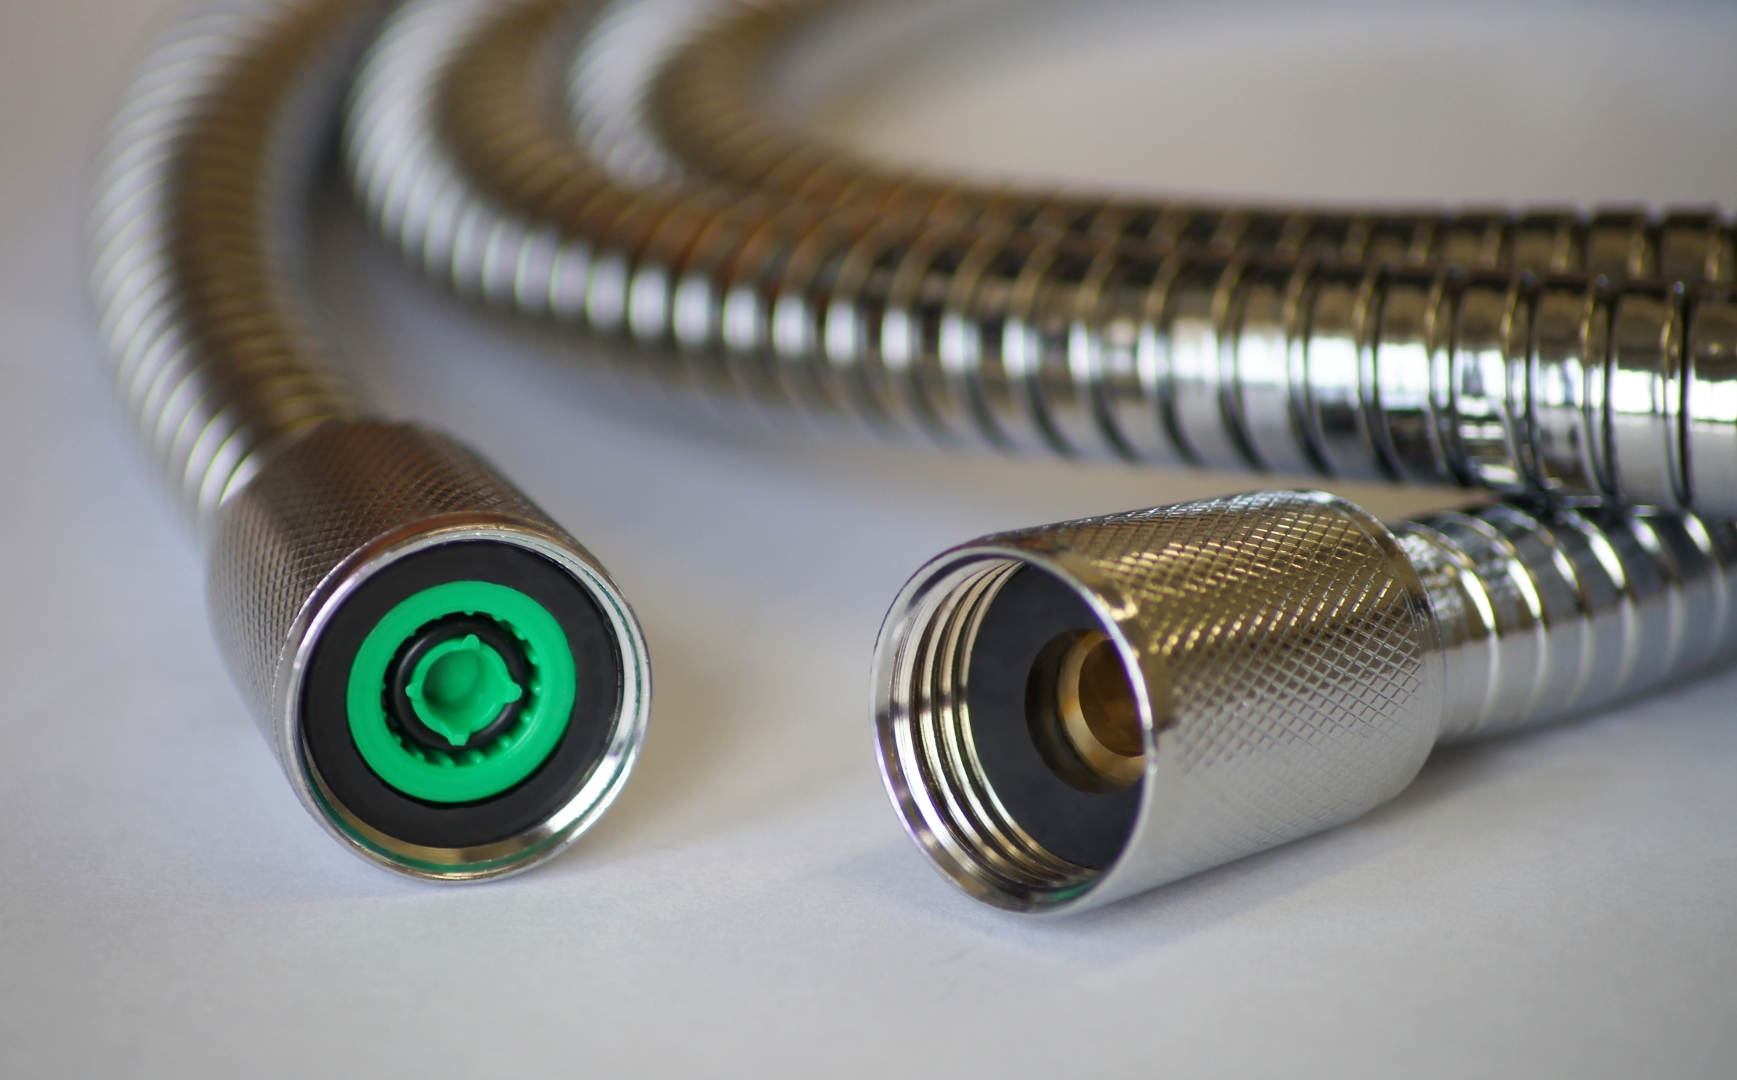
Installation is very simple. Water saver aerators are installed the same way a regular aerator is. Before installing it, decide if you want to keep default water flow rate or change it by replacing silicone O-rings. It can be changed at any time in future. If the current aerator is corroded, pliers might be needed to unscrew it.
Installation is very simple. Water saver is screwed in between shower arm and shower hose. You might need pliers to unscrew shower hose from the arm first. Before installing water saver, decide if you want to keep default water flow rate or change it by replacing silicone O-rings. It can be changed at any time in future.